- Introduction
- Using the built-in connector
- Using the built-in connector custom API
- Using a raw HTTP request
- Using a connector built with the Connector Builder
- Related content
- What you learned
- Workflows resources
Introduction
Okta Workflows how-to guides are questions and answers from the community office hours, the #okta-workflows channel on MacAdmins Slack, and other places. Read all the other how-to guides.
What options are available to call an API in Workflows, and when to use which option?
There are four ways to call an API in Workflows:
- Using the built-in connector
- Using the built-in connector custom API
- Using a raw HTTP request
- Using a connector built with the Connector Builder
Using the built-in connector
Workflows provides over 50 pre-built connectors to various services.

Every connector has actions (API endpoint) that you can call.
The following are actions (API endpoints) available in the Okta connector:
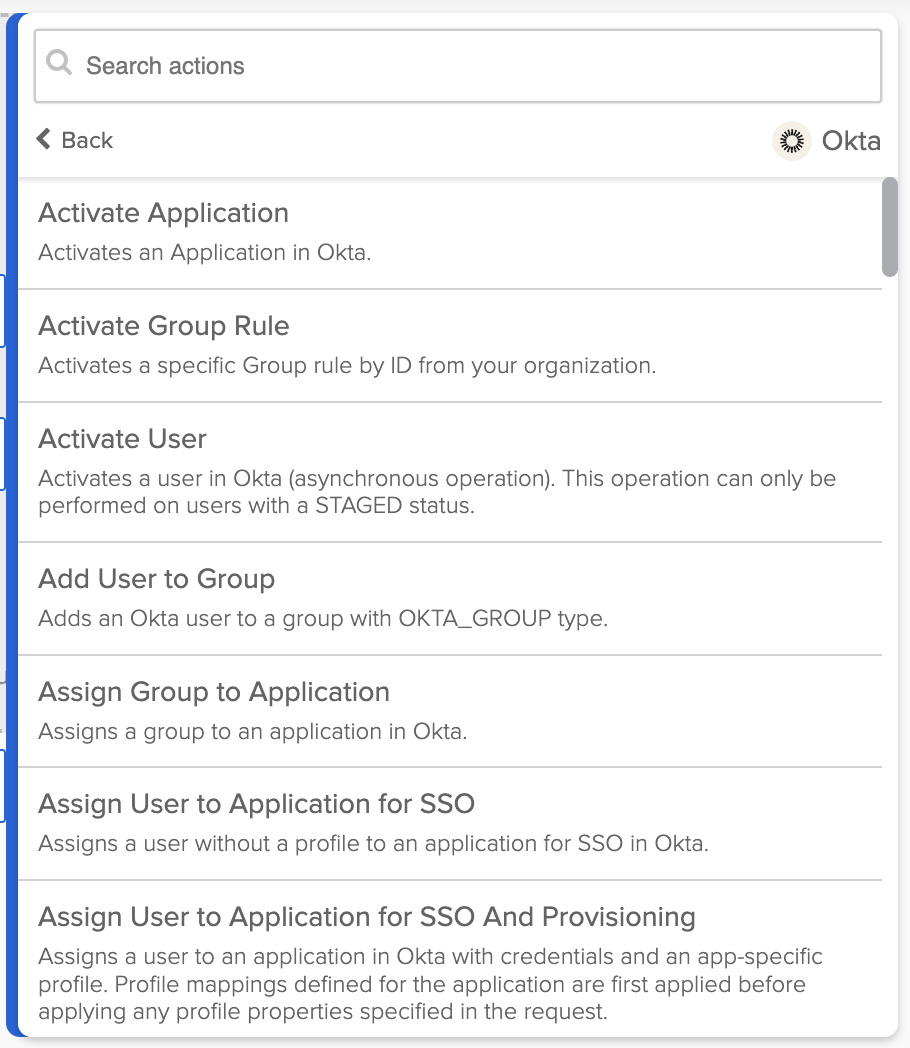
To call the Activate User action, add the action’s card:
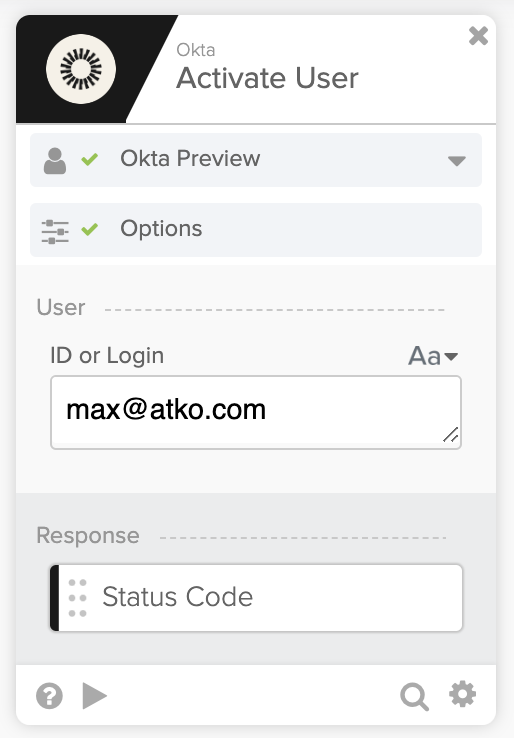
Behind the scenes, the card calls the Okta API to activate a user.
Every card action has fields (parameters) defined that correspond to the behind the scenes API. In the example above, it’s a single parameter ID or Login.
Before you can call an action, you need to set up the service connection.

Every pre-built connector will have a different connection setup. You can also have multiple connections for the same service. For example, one connection for testing and one connection for production.
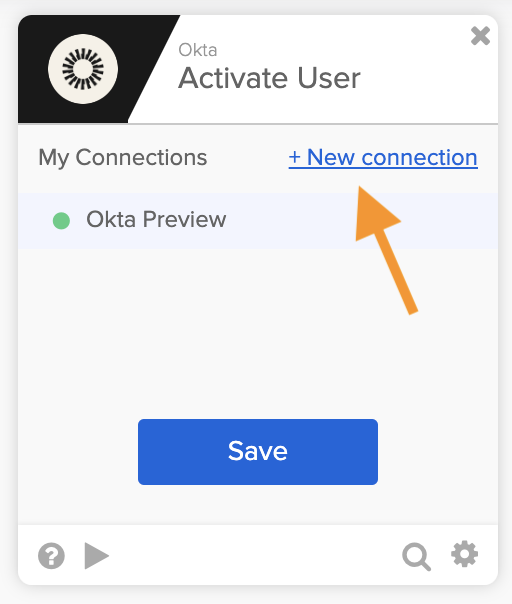
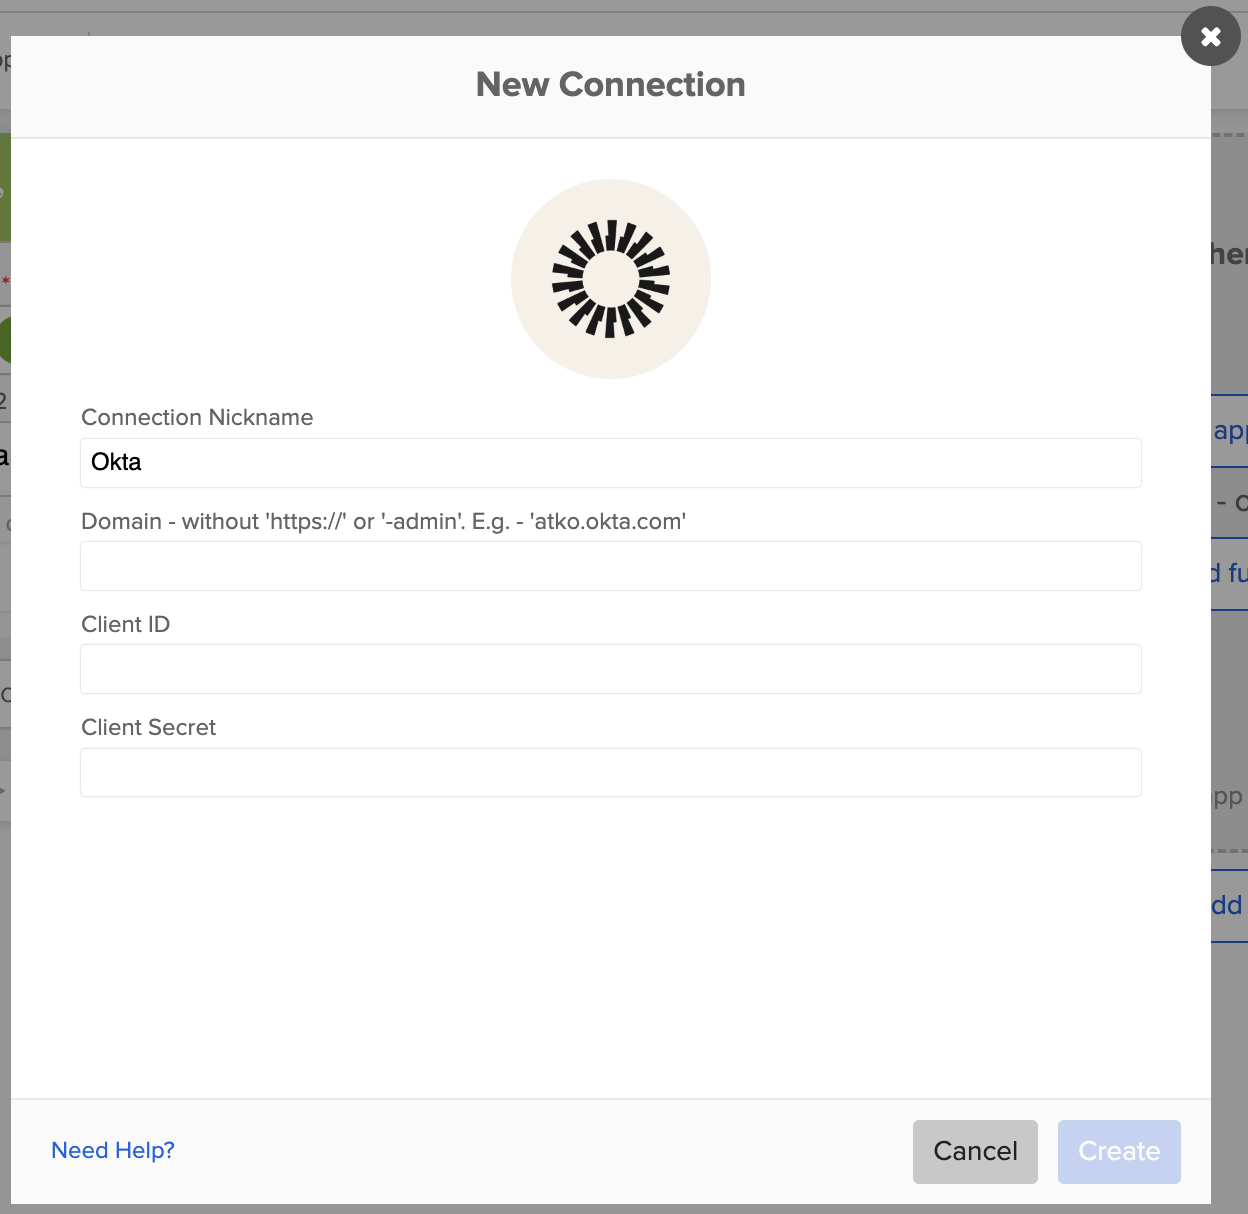
When you use a connector for the first time, you will be prompted to create a connection to the service. For example, this is the screen to set the Okta connection (docs):
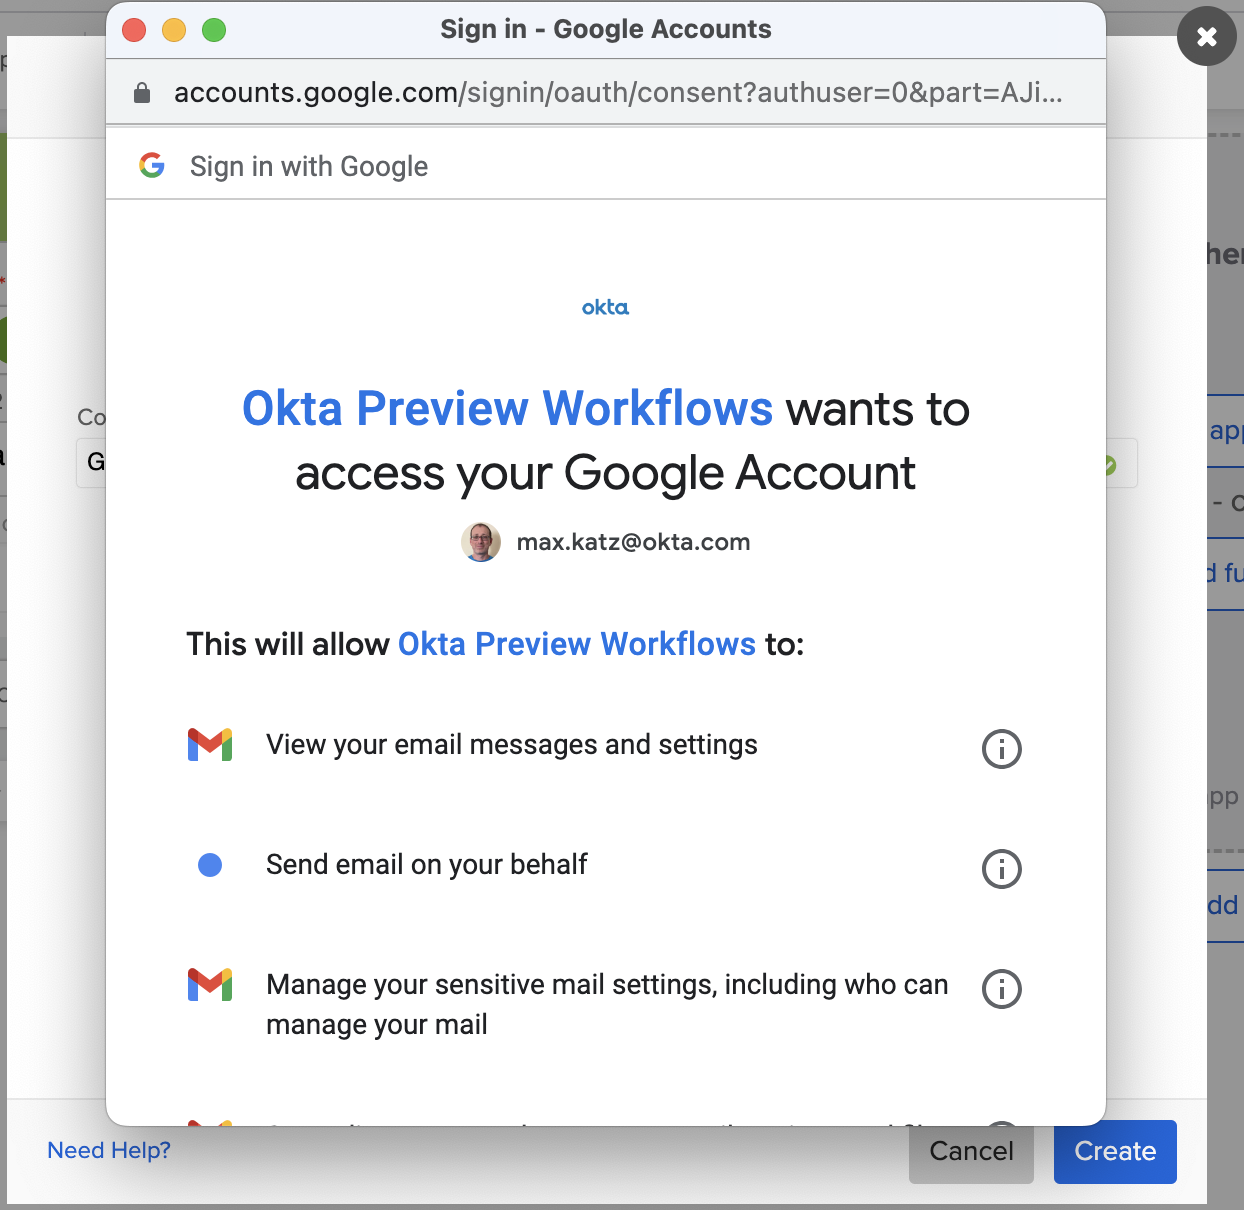
Here is another example using Gmail.
The following are actions from the Gmail connector:

Before you can use a Gmail action, you need to create a connection where the authorization process looks like this:
To send an email, add the Send Email card:

Behind the scenes, the card calls the Gmail API to send an email.
This card defines multiple fields (parameters) based on the Gmail API.
When to use the built-in connector?
The built-in connector is usually the most straightforward way to call an API service from Workflows. If a built-in connector is available and has the actions you need, use it.
But sometimes, a service connection will not have all the actions pre-built or all the parameters available. In this case, you must use the next section’s custom API action.
Learn about the built-in connectors
- Watch: Making API Requests in Okta Workflows
- Read: How to Call an API When It’s Not Available From an Existing Card (Connection)
Using the built-in connector custom API
Use the Custom API Action card if the built-in connection doesn’t have the action (API) you need.
Every connector in Workflows has an action called Custom API Action.
This action allows calling any API endpoint available on the connector. You can re-use the service connection but specify the API endpoint and parameters.
The Shopify connector has a built-in action to create a new customer.
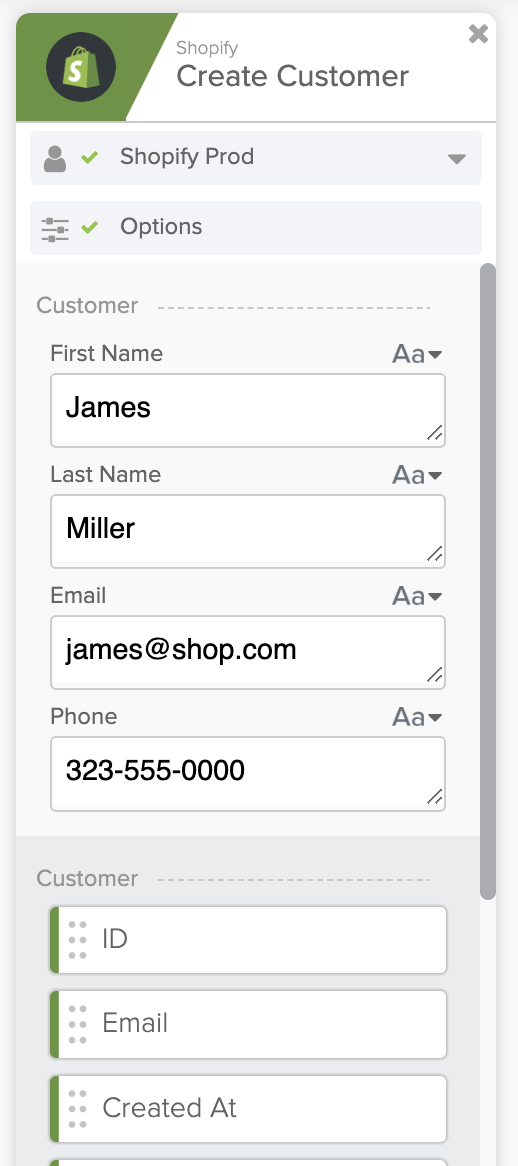
But there is an action to list customers on the connector. To list customers, you use the Shopify – Custom API Action card. You re-use the connection and specify the API endpoint to list customers:

You enter the Relative URL and, optionally, the Query and Header fields.
Go to the service API documentation to learn about the service URL, query, and header fields.
When to use the built-in connector custom API?
- If the built-in connector doesn’t have the action (API) you need
- If the connector you use has a built-in action, but doesn’t expose a particular parameter, use the Custom API Action card to make a request specifying the parameter you need
Learn about the built-in connectors
- Watch: Making API Requests in Okta Workflows
- Read: How to Call an API When It’s Not Available From an Existing Card (Connection)
Using a raw HTTP request
If you need to call a service without a built-in connector, use the raw HTTP request.
Workflows has the API Connection card which allows making HTTP requests to any API endpoint.
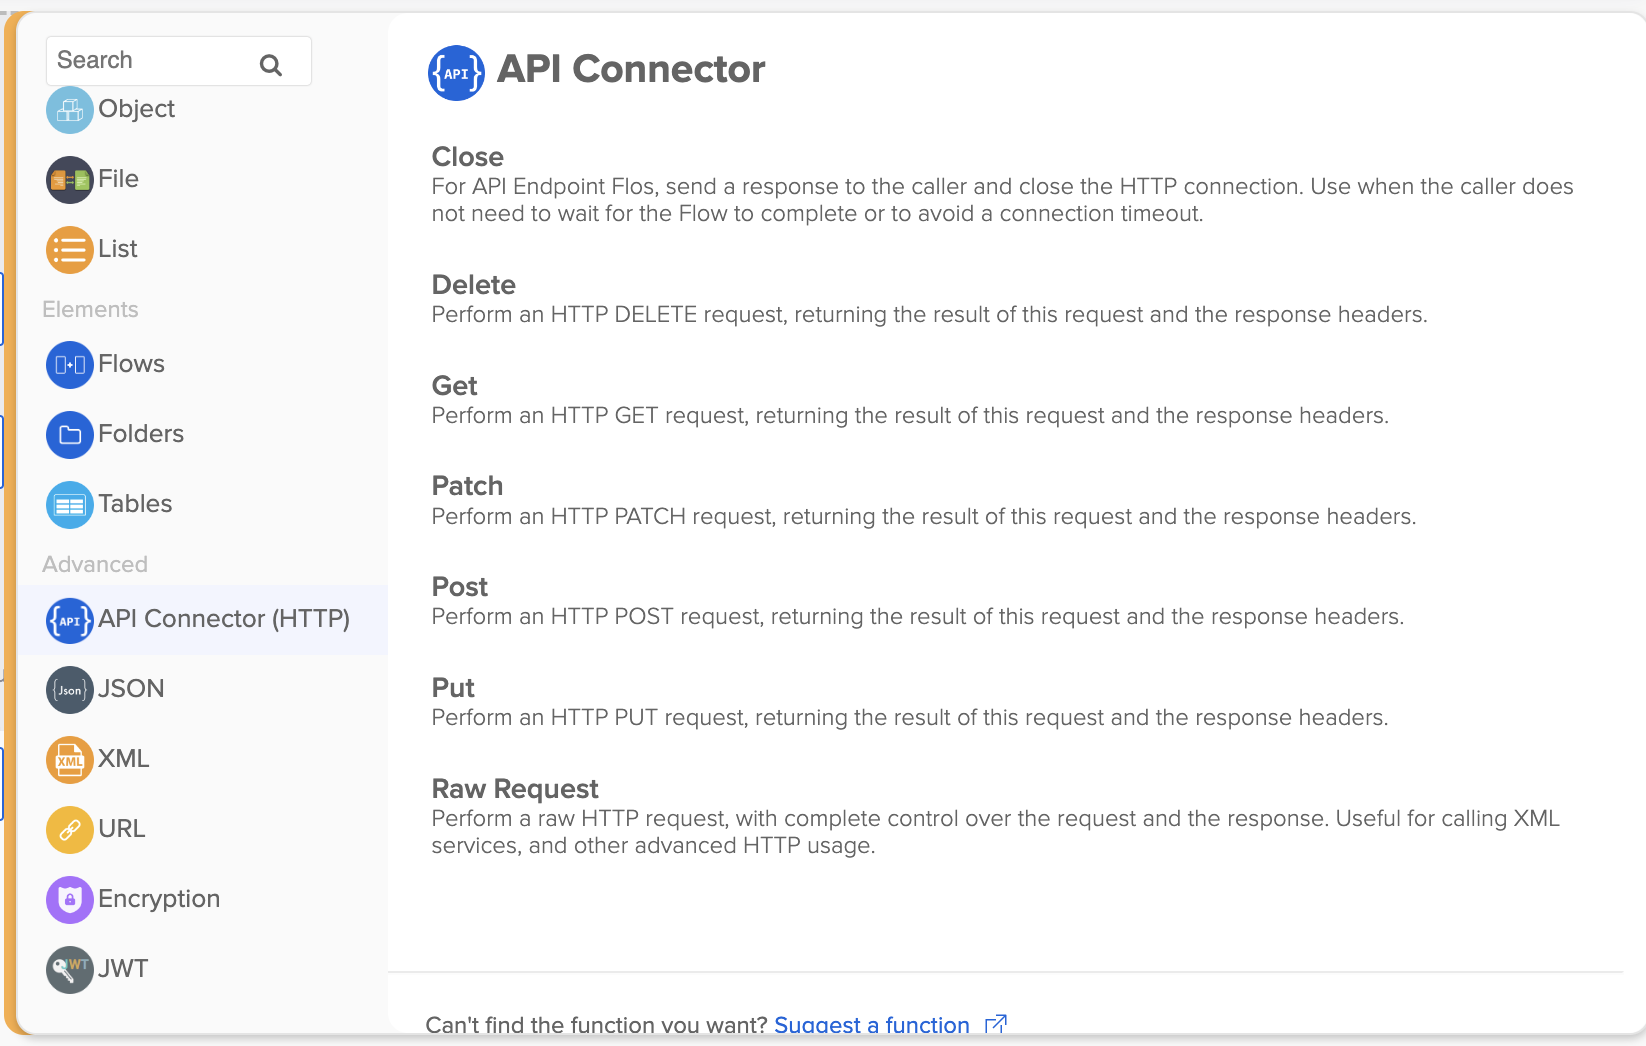
When using the API Connection card, specify the full API endpoint URL, authentication and any query and body parameters.
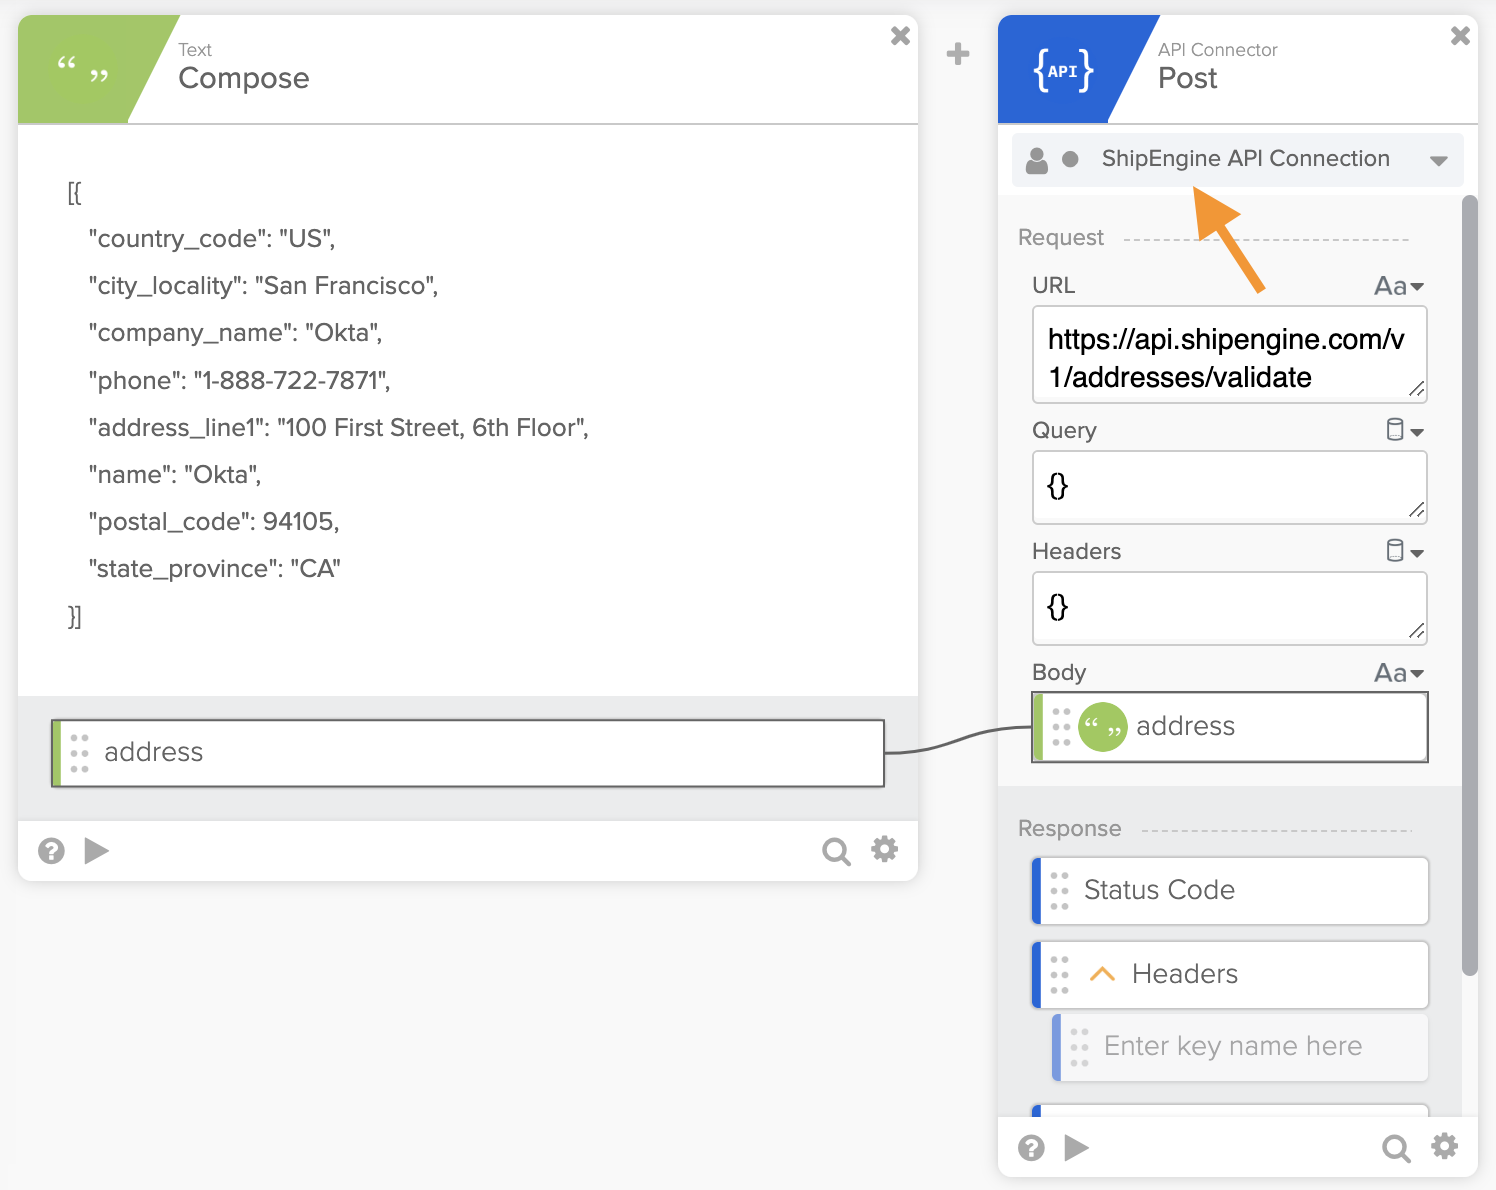
ShipEngine has API to help with shipping and logistics. Workflows doesn’t have a pre-built connection for ShipEngine. To call ShipEngine API, use the API Connector card.
ShipEngine has an API to validate an address. Call this API in Workflows using the API Connector – Post card.
Using the service docs, you configure the URL, Query, Headers and the request Body.

If you use an API often, you can move the authentication into a connection and re-use the connection in other flows.
Creating a connection for ShipEngine API looks like this:

The API Connector card can use this connection, and you no longer need to set the Headers field:
If you need the absolute closest you can get to a raw API request in Workflows, use the API Connector – Raw Request action.
When to use a raw HTTP request?
- API you need to use is not on the list of pre-built connectors
- You need control over the request
Learn about the built-in connectors
- Watch: Making API Requests in Okta Workflows
- Read: How to Call an API When It’s Not Available From an Existing Card (Connection)
Using a connector built with the Connector Builder
If you want your API to be available in the app action list, you can create a custom connector for your API using the Connector Builder. Your connection will be listed here:
We hosted two online meetups about the Connector Builder:
- Getting Started with Okta Workflows Connector Builder
- Building with Okta Workflows Connector Builder – Advanced Topics
When to use the Connector Builder to create a connector?
- Simplify API usage within your organization
- People within your organization can use your API via a custom built-in connector instead of setting up API requests manually
Related content
The following guides will help you learn more about this topic:
- Making API Requests in Okta Workflows | Workflows Online Meetup
- How to Call an API When It’s Not Available From an Existing Card (Connection)
- Getting Started with Okta Workflows Connector Builder | Workflows Online Meetup
- Building with Okta Workflows Connector Builder – Advanced Topics | Workflows Online Meetup
What you learned
This guide taught you four ways to call an API in Workflows:
- Using the built-in connector
- Using the built-in connector custom API
- Using a raw HTTP request
- Using a connector built with the Connector Builder
Workflows resources
🍫 Get help from Workflows specialists during weekly community office hours.
📺 Learn from Workflows videos.
🛟 Get help from support: discuss a Workflows topic or ask a question.
🙋🏻♀️ Join the #okta-workflows channel on MacAdmins Slack to learn and get help from the community.

Leave a comment